Install IIPImage Server on Ubuntu 18.04 with ISPConfig
IIPImage Server is a fast, well-documented, feature rich and opensource zoom server and client for various platforms. In this article is described how to install and configure it on Ubuntu 18.04 with ISPConfig 3.x.
Install packages
apt update && apt -y upgrade
apt -y install iipimage-server iipimage-doc
IIPImage server is now installed, the binary is
/usr/lib/iipimage-server/iipsrv.fcgi
main config file is
/etc/apache2/mods-enabled/iipsrv.conf
documentations are at
/usr/share/doc/iipimage-doc/
/usr/share/doc/iipimage-server/
man iipsrv
logfile is at
/var/log/iipsrv.log
Configure IIPImage
IIPImage is configured for use with mod_fcgid, suexec and memcached.
vi /etc/apache2/mods-enabled/iipsrv.conf
# Create a directory for the iipsrv binary
#
# Das hier beim vHost machen (mit ISPConfig)
#
##ScriptAlias /iipsrv/ "/usr/lib/iipimage-server/"
#ScriptAlias /iipsrv/ "/var/www/iipimage-server/"
## Set the options on that directory
#<Location "/iipsrv/">
#   AllowOverride None
#   Options None
#   <IfModule mod_version.c>
#     <IfVersion < 2.4>
#       Order allow,deny
#       Allow from all
#     </IfVersion>
#     <IfVersion >= 2.4>
#       Require all granted
#     </IfVersion>
#   </IfModule>
#
#   # Set the module handler
#   AddHandler fcgid-script .fcgi
#</Location>

# Set our environment variables for the IIP server
FcgidInitialEnv VERBOSITY "10"
FcgidInitialEnv LOGFILE "/var/log/iipsrv.log"
FcgidInitialEnv MAX_IMAGE_CACHE_SIZE "10"
FcgidInitialEnv JPEG_QUALITY "90"
FcgidInitialEnv MAX_CVT "5000"
FcgidInitialEnv MEMCACHED_SERVERS "localhost"

# Define the idle timeout as unlimited and the number of
# processes we want
FcgidIdleTimeout 0
FcgidMaxProcessesPerClass 1
service apache2 restart
Configure vHost
Remove the immutable bit, add a folder for the IIPImage binary and set the immutable bit again
chattr -i /var/www/clients/client1/web1
mkdir /var/www/clients/client1/web1/iipimage-server
chattr +i /var/www/clients/client1/web1
Copy the IIPImage binary to the vHost
cp /usr/lib/iipimage-server/iipsrv.fcgi /var/www/clients/client1/web1/iipimage-server
chown -R web1:client1 /var/www/clients/client1/web1/iipimage-server
Setup Apache directives with ISPConfig – copy the following section into Apache Directives and click on Save
# Create a directory for the iipsrv binary
ScriptAlias /iipsrv/ "/var/www/clients/client1/web1/iipimage-server/"
<Location "/iipsrv/">
   AllowOverride None
   Options None
   <IfModule mod_version.c>
     <IfVersion < 2.4>
       Order allow,deny
       Allow from all
     </IfVersion>
     <IfVersion >= 2.4>
       Require all granted
     </IfVersion>
   </IfModule>

   # Set the module handler
   AddHandler fcgid-script .fcgi
</Location>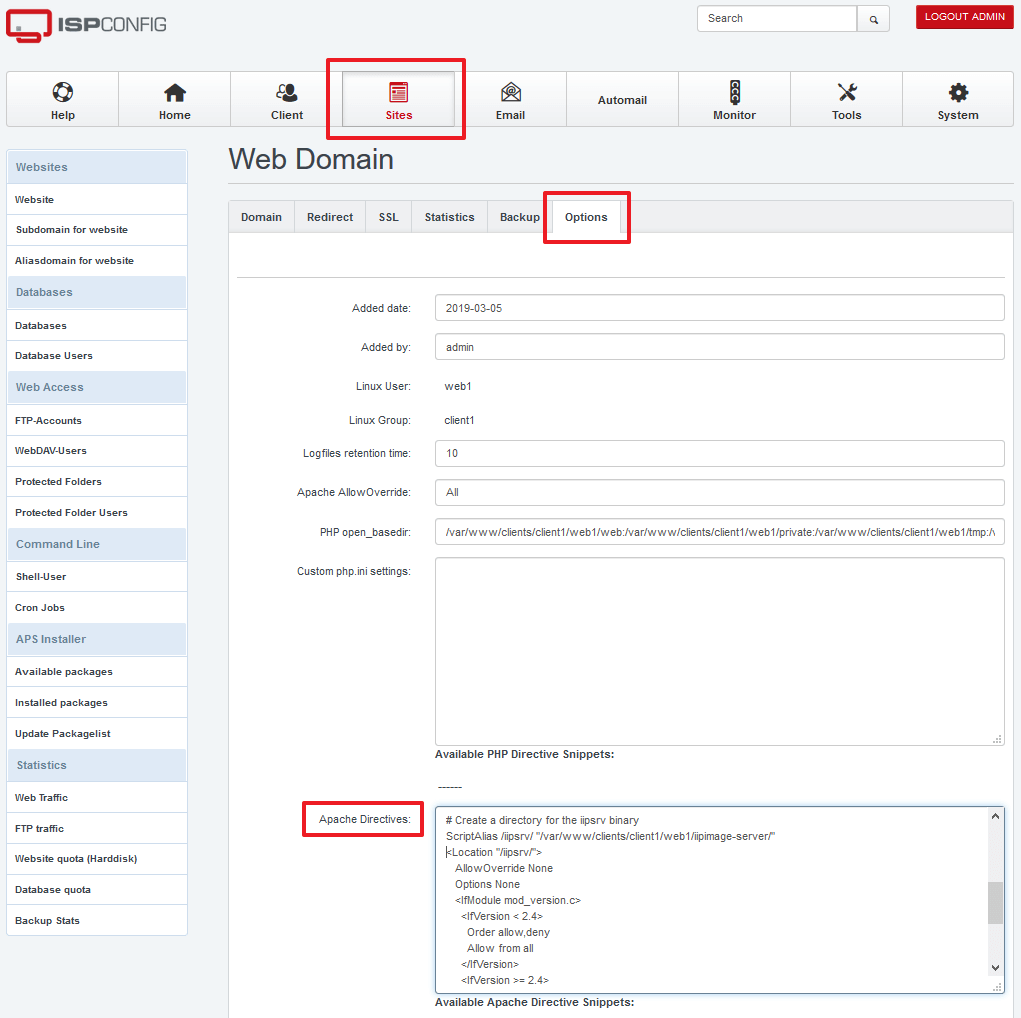
The zoom server is now configured and working.
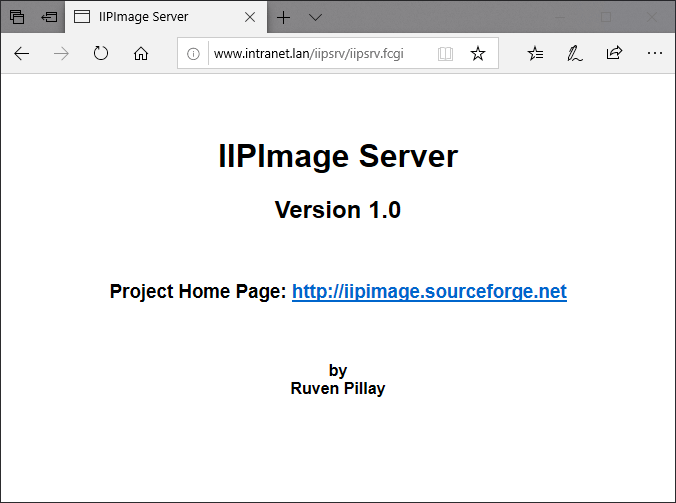
Test installation
Just enter the URL of the IIPImage binary in your browser. It should display a HTML page.
Prepare images
The zoom server needs a multi-page image pyramide TIFF to display images. Convert them with
vips im_vips2tiff input.jpg output.tif:lzw,tile:256x256,pyramidMove the converted TIF image to the iipimage-server directory
mv output.tif /var/www/clients/client1/web1/iipimage-server/Display image
To display the full image, use the parameter CVT=jpeg
http://www.intranet.lan/iipsrv/iipsrv.fcgi?FIF=output.tif&CVT=jpegInstall client
IIPMooViewer is a HTML5 client for IIPImage. It is compatible with almost all web browsers including Android and Phone/iPad.
Just go to yout web directory of the vHost, clone the repo, edit index.html and you are done.
cd /var/www/clients/client1/web1/web/
git clone https://github.com/ruven/iipmooviewer
cd iipmooviewer
vi index.html
var server = '/iipsrv/iipsrv.fcgi';
var image = 'output.tif';cd ..
chown -R web1:client1 iipmooviewerFinished!
Open the URL in the browser and enjoy.
http://www.intranet.lan/iipmooviewer